Skip to content
How to configure Add-Ons Tier Pricing
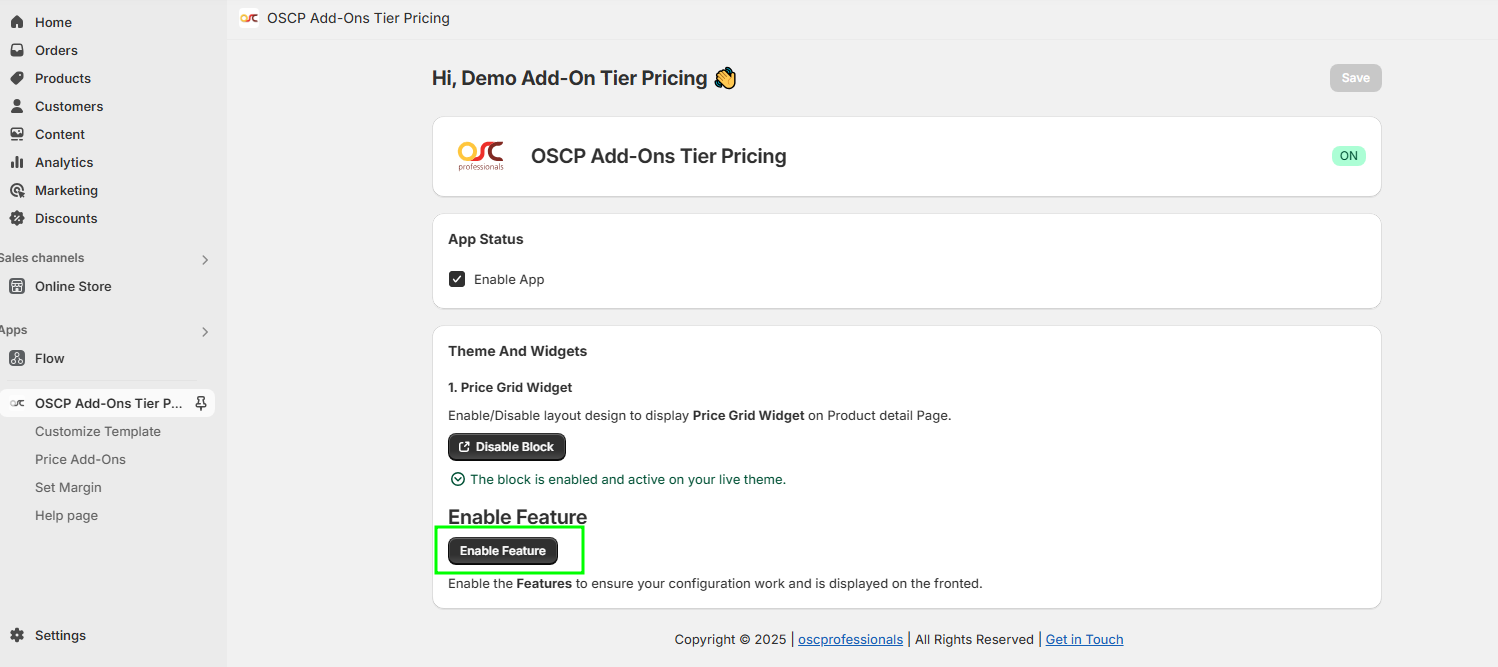
Enable Feature & Create a Template
- Enable the Feature:
- Click Enable Feature – this takes you to the Customize Template page.
2. Choose a Template:
- Use a predefined template or create a custom template.
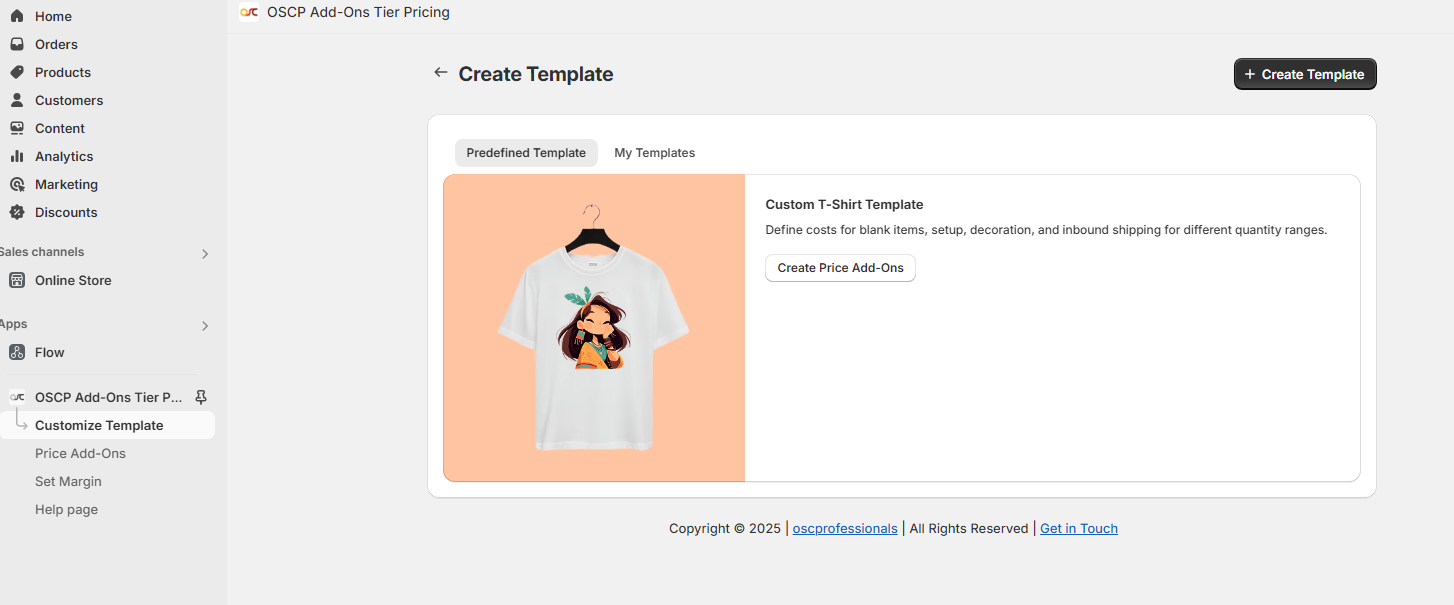
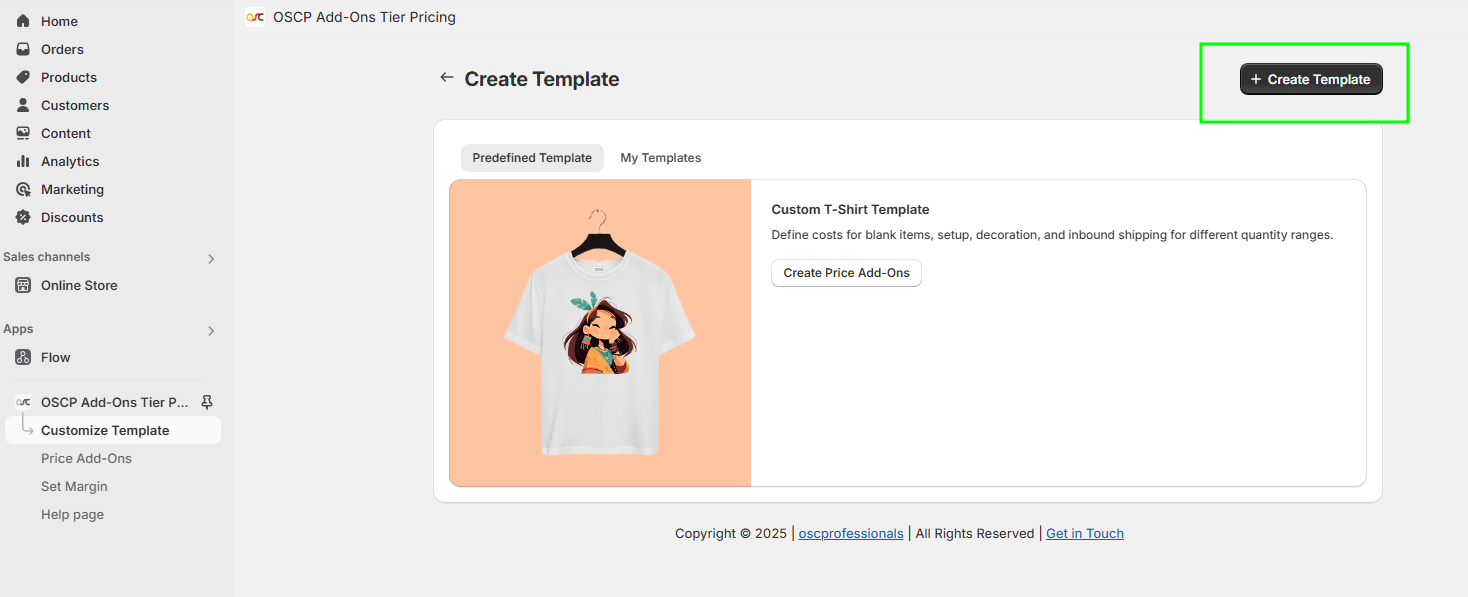
- Click Create Template to start a custom template – this opens the Template Settings page.
3. Set Up Your Template:
-
- Template Name: (e.g., T-Shirt Template)
- Quantity Ranges: (e.g., 1-5, 6-11)
- Parameters: (e.g., Decoration Cost)
- Click Next to proceed.

4. Manage Your Templates:
-
- After clicking Next, the Create Template page opens.
- Click My Templates to view your saved templates.
- Click Create Price Add-Ons to go to the Price Add-Ons List.

Create Price Add-Ons
1. Start Creating Price Add-Ons:
- Click Create Price Add-Ons.
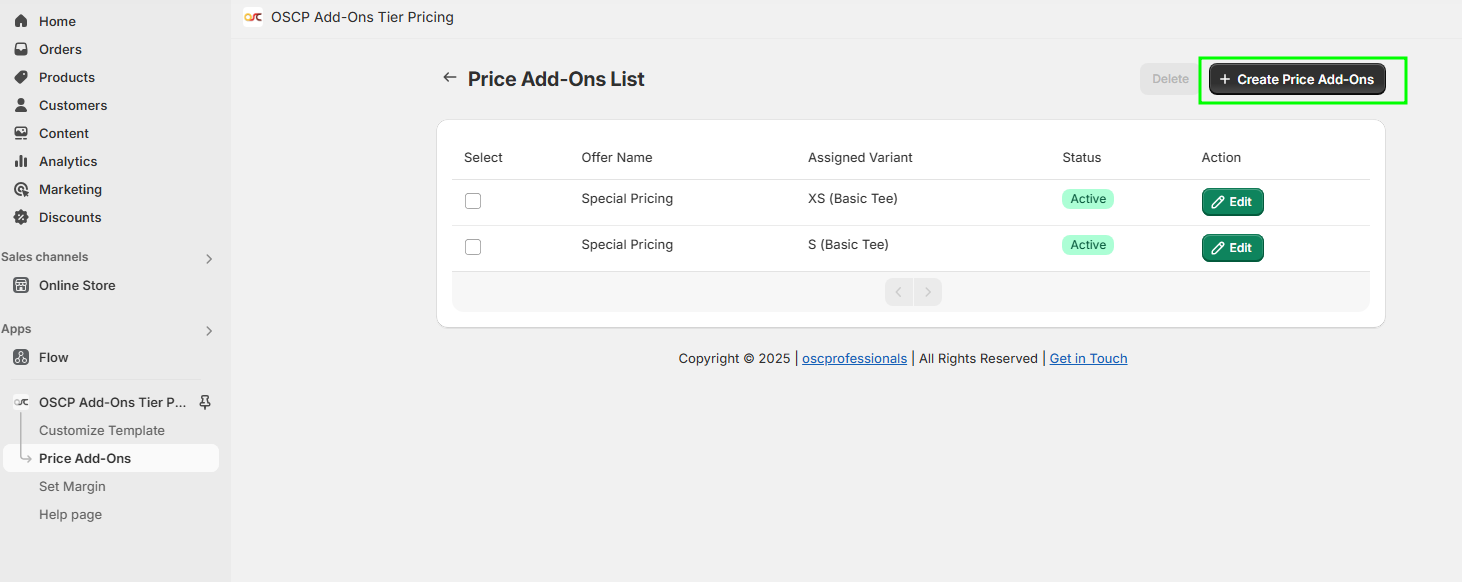
- Select a product variant and click Add.
- The Price Add-Ons page will open.
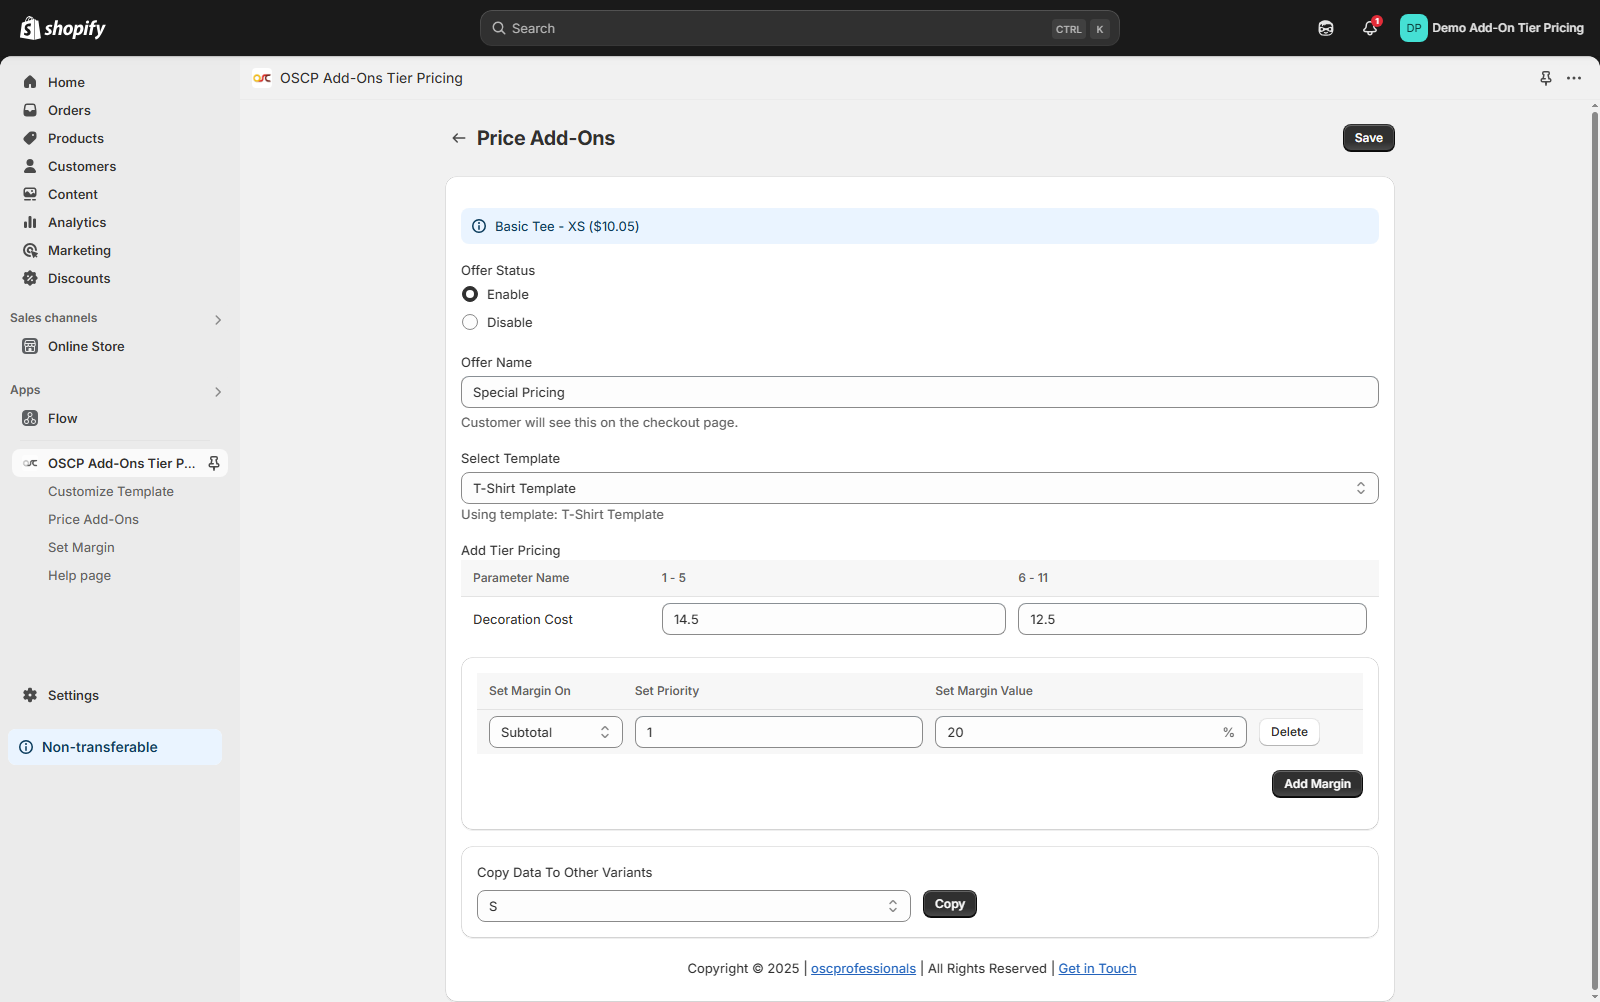
2. Configure Offer Details:
-
- Offer Status: Enable
- Offer Name: (e.g., Special Pricing)
- Select Template: (e.g., T-Shirt Template)
- Offer Status: Enable
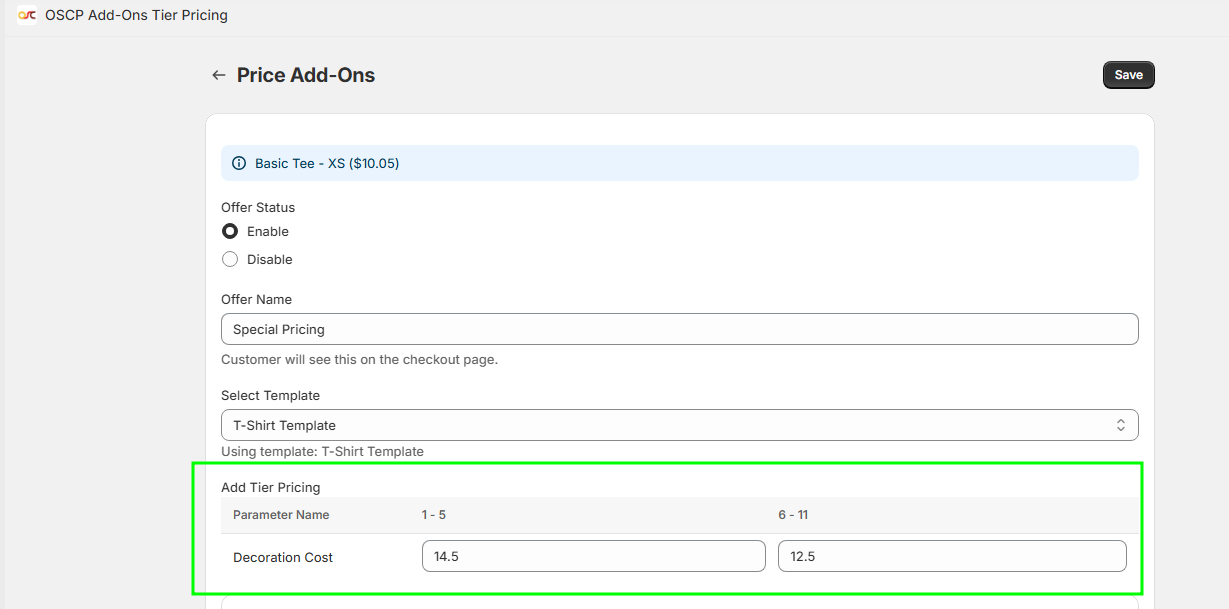
3. Add Tier Pricing:
-
- Quantity Ranges & Costs:
- 1-5: Decoration Cost: 14.5
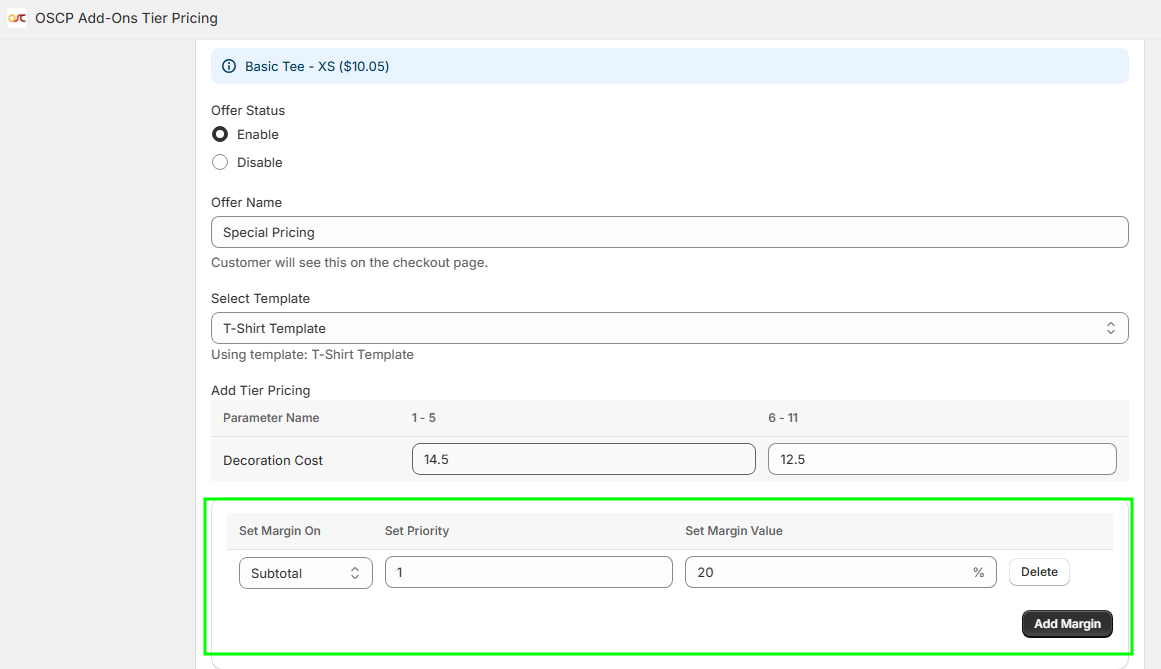
4. (Optional) Add Margins:
-
- Set Priority: (Which should be applied first, e.g., 1)
- Set Margin Value: (e.g., 20%)
- Set Priority: (Which should be applied first, e.g., 1)
5. Save Your Settings:
- Click Save to apply the changes.
Set Margins (Optional):
- You can set global margins for all product variants.
- If a margin is set for a specific product variant, it will take priority over the global margin.
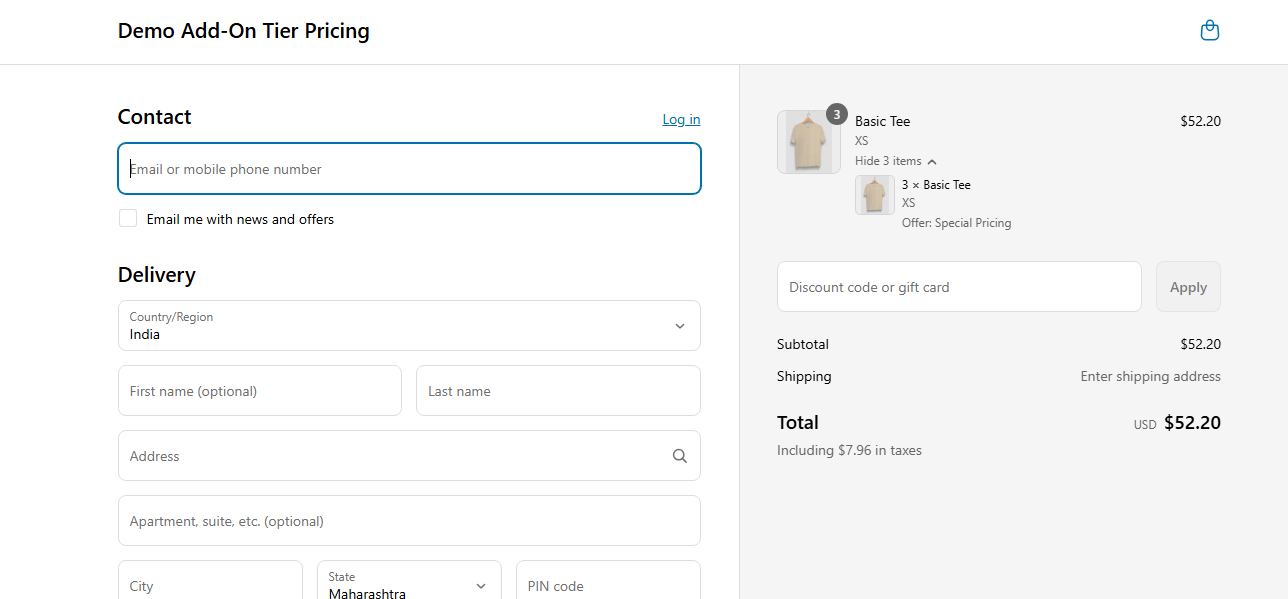
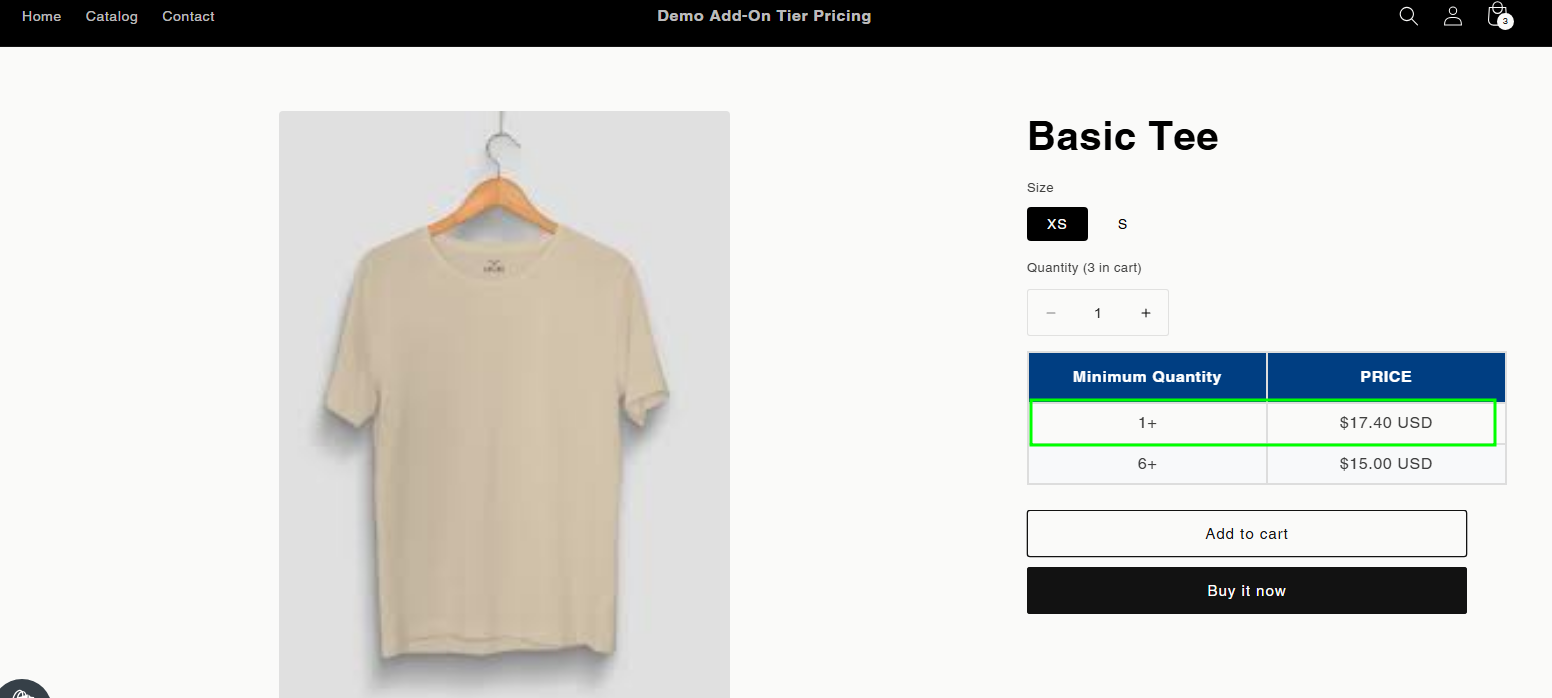
Testing the Price Add-Ons in the Storefront
- Go to the product page where the Price Add-On Offer is applied.
- Verify that the price table is displayed with the correct calculations.
- Add a quantity of 3 to the cart.
- Check that the product price displays as 17.40.
5. Go to the Cart page.
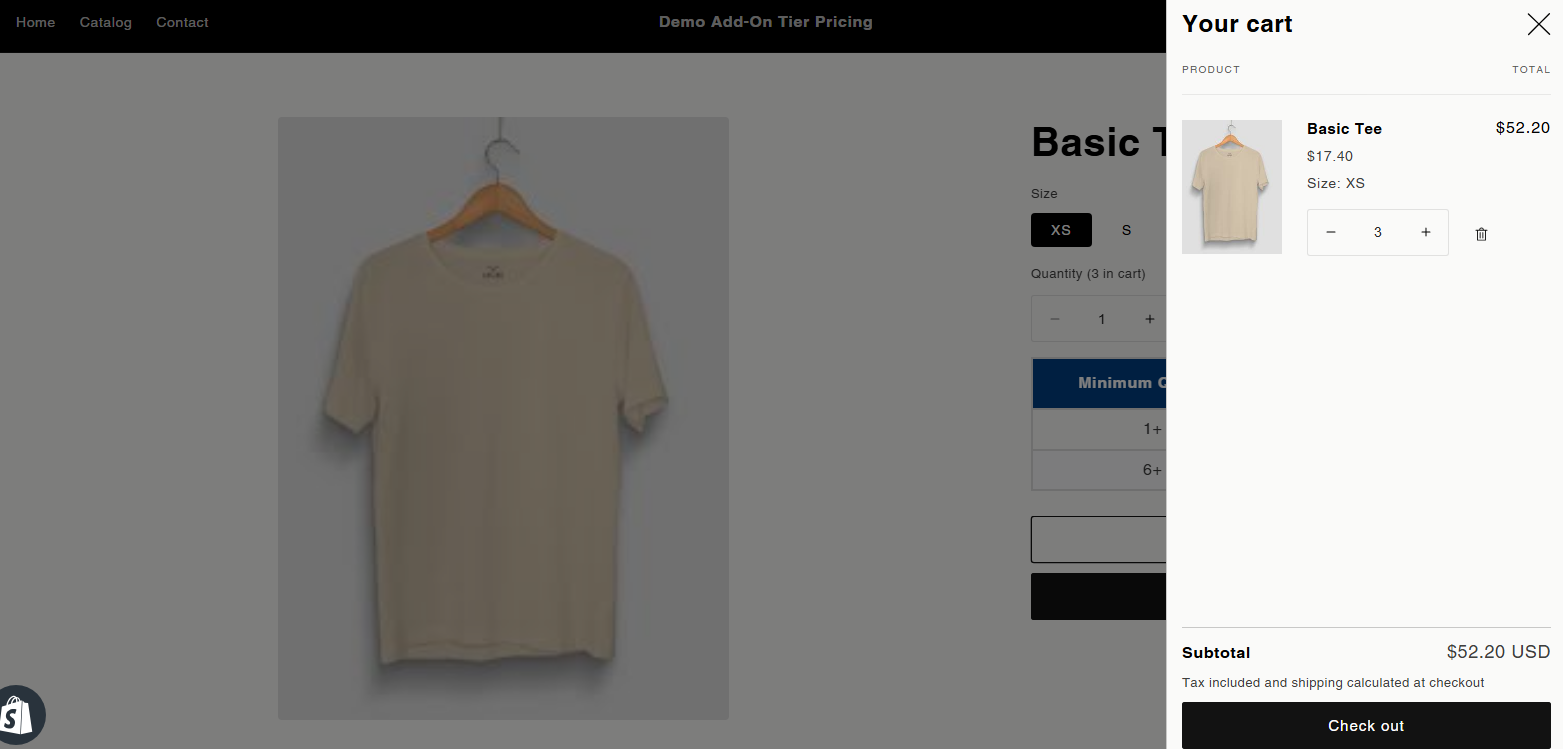
6. Confirm that the Offer: Special Pricing is applied at checkout.