 Skip to content
Table Of Content
How to Manage customers in Prestashop
Customer is a king of market. Customer is responsible for driving the market/your website so, you have to take good care of your customers. Customer profile contains all the information you need to have a package shipped to them. The Customers menu enables you to check on your customer’s details, create groups to which you can apply discounts, view the current shop carts, handle customer service, etc.
Manage your customers in PrestaShop:
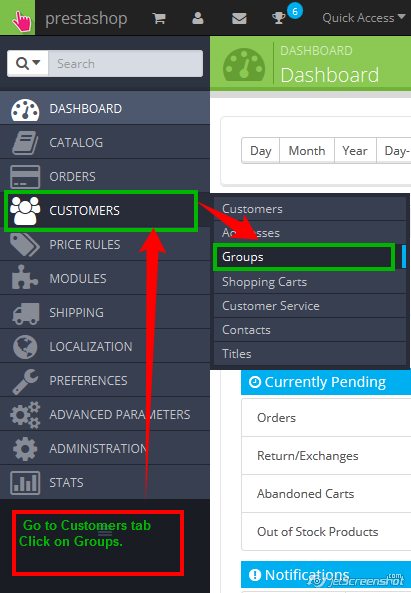
A) ADDING CUSTOMERS GROUP
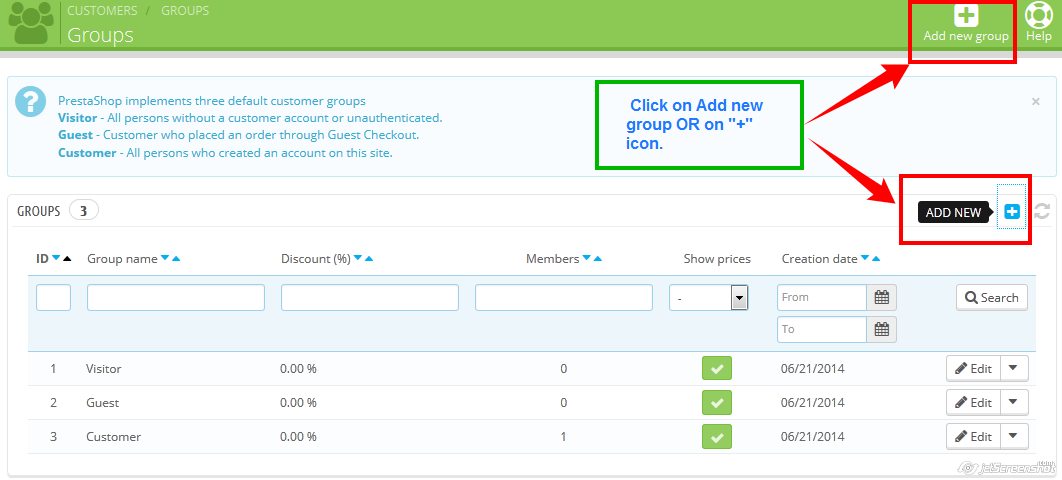
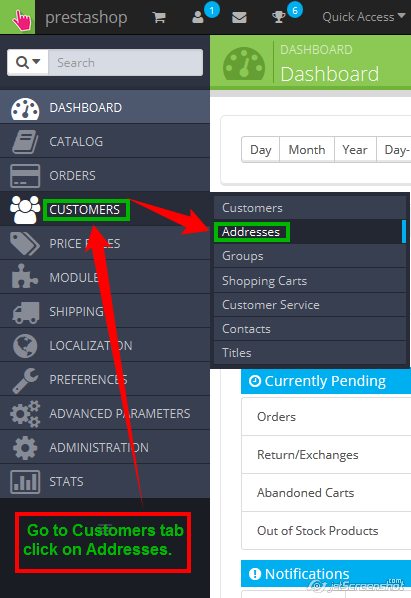
- Go to Customer tab click on Groups a window appears.
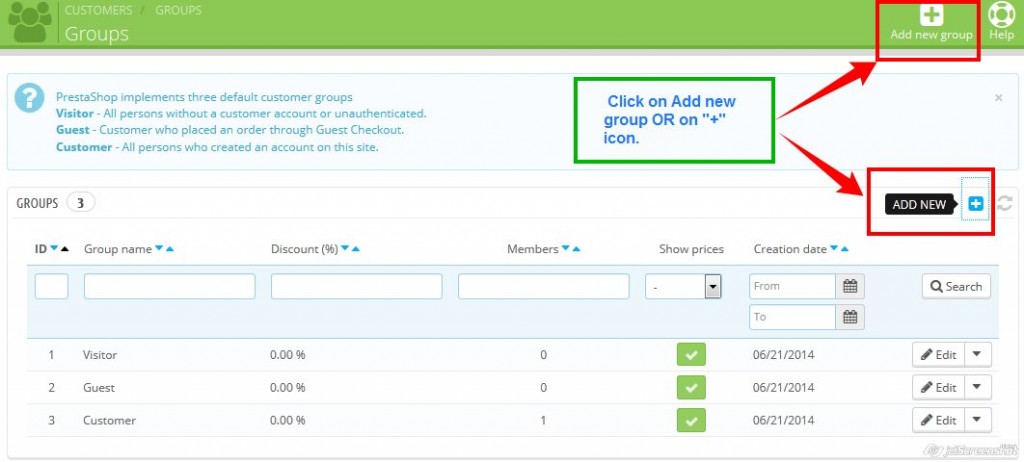
- Go to Groups and click on Add New button to create a groups.
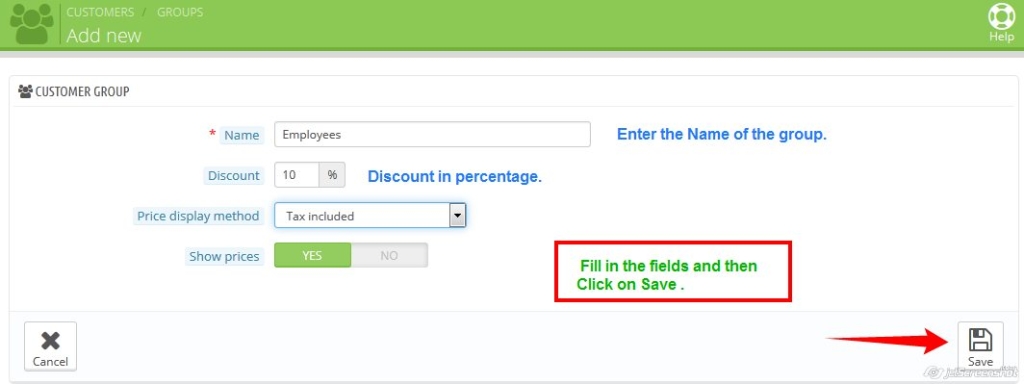
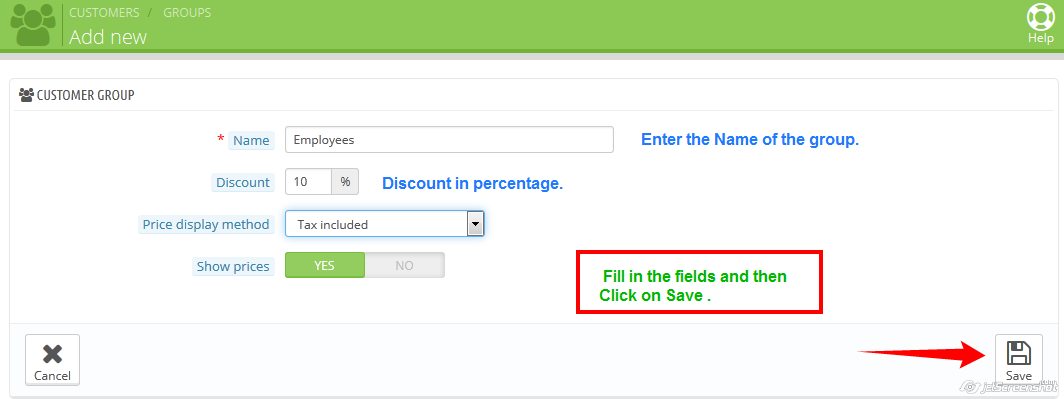
- Enter the information needed:
- Name: Use a short and descriptive name.
- Discount (%): The discount that you set for members of this group applies to all products on your shop.
- Price display method: TPrestaShop is frequently used in the Business to Business (B2B) sector. You can create a group of customers who can buy products without paying the tax. The drop-down list gives you a choice between tax included and tax excluded.
- Show prices: By default, all users of your shop can view the prices. You may prefer some to not have access to your product prices. For instance, you could make it so users can only view prices if they have an account: from the groups list, click on the green Yes in the Show prices column for the Visitors group to turn it into a red No.
- Once these settings are in place, you can save the group
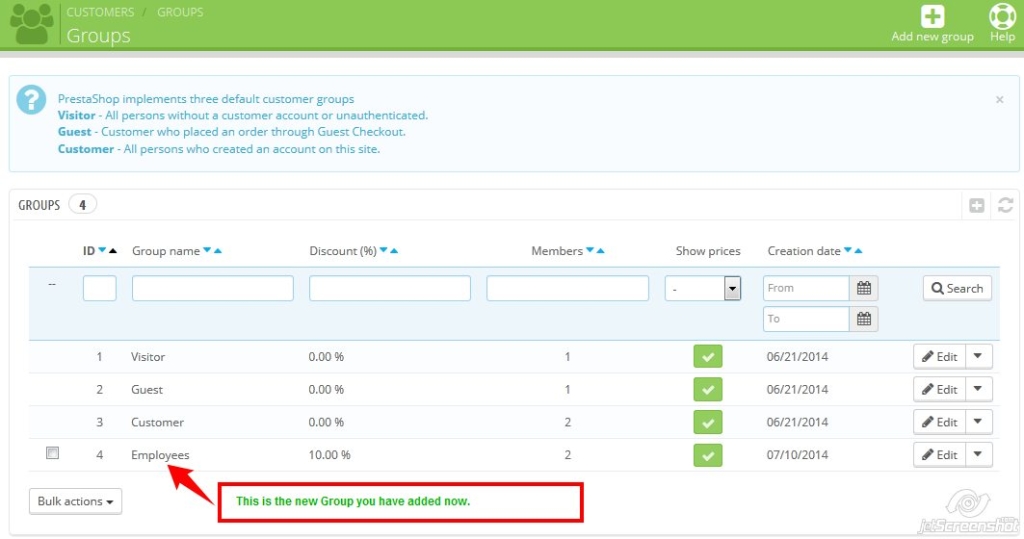
- Now that we will made a group lets create a new customer to add to the group.

B) ADDING CUSTOMERS
-
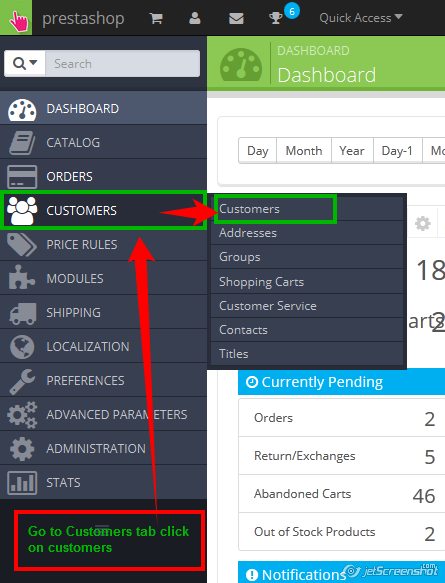
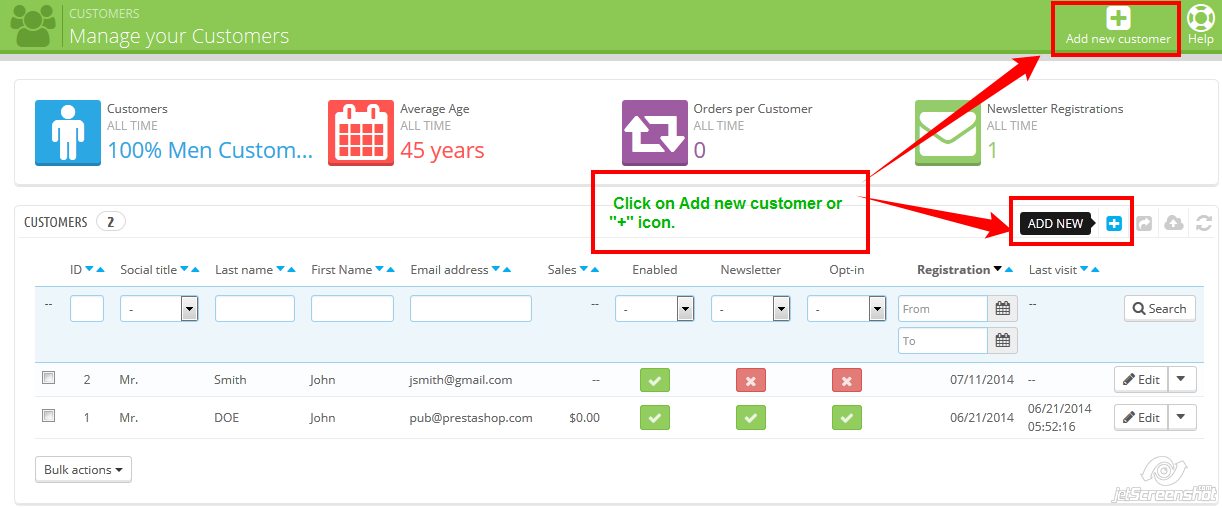
- Go to Customer tab click on Customer a window appears.
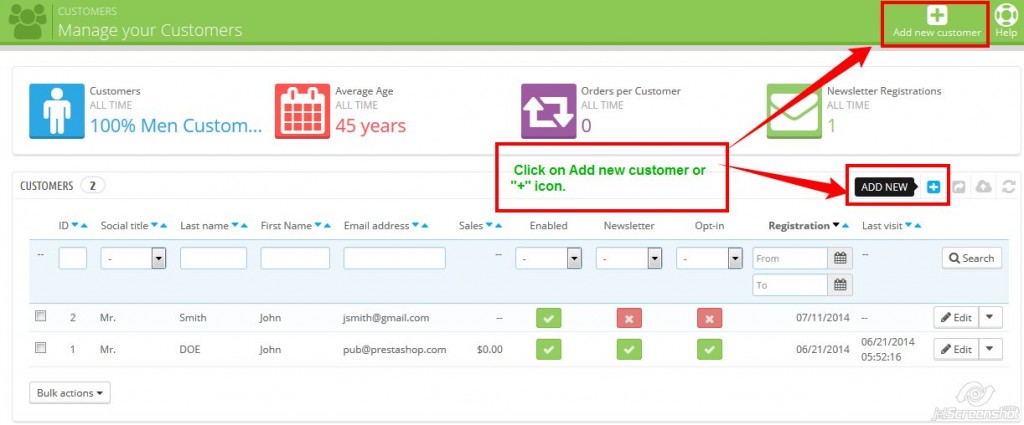
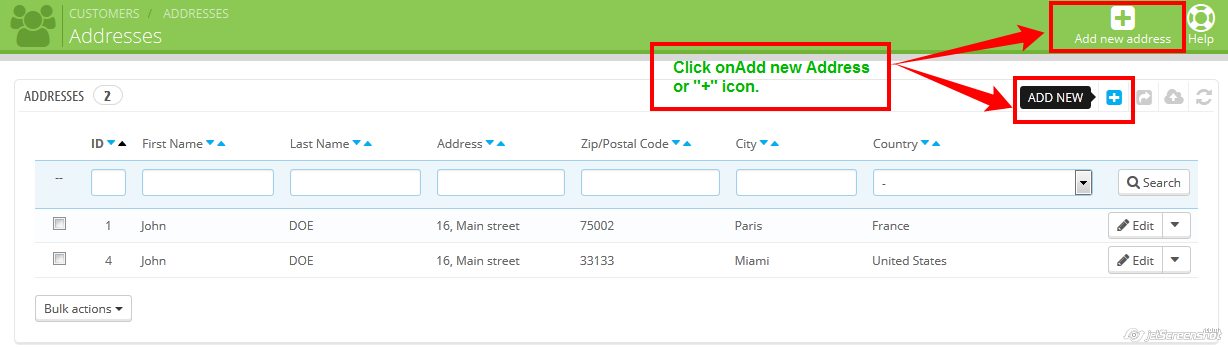
- Go to Customers and click on Add New button or on ”+” icon to create a groups.
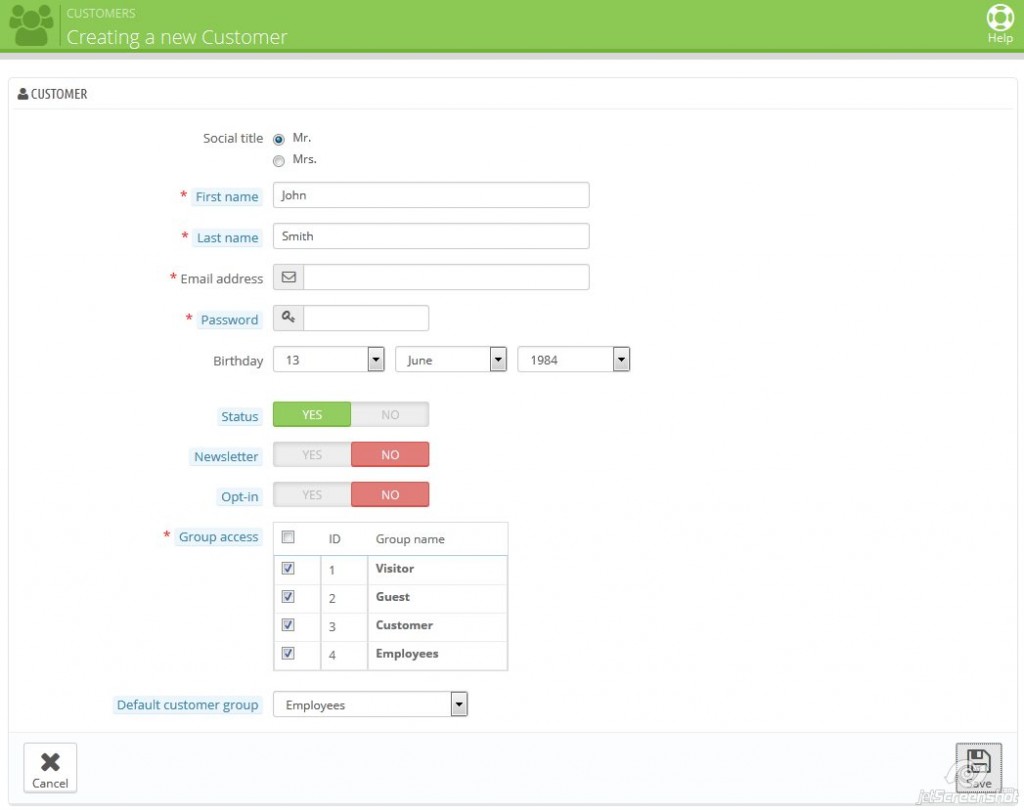
- iii. Enter the information needed:
- Social title: Choose between the ones available, or create another one in the Titles page under the Customers menu.</li
- First name, Last name and E-mail address :Those are essential: the names are used in the confirmation e-mails that PrestaShop sends, and the e-mail address is used for log-in.
- Password: Choose a password, at least 5 characters long.
- Birthday: This information can be used for birthday e-mails and temporary discounts.
- Status: You may wish to create an account, but not have it yet active.
- Newsletter: Can be used by the Newsletter module, for sending regular information to those customers who requested it.
- Opt-in: Can be used by modules for sending regular partner promotions to those customers who requested it. Do not subscribe a user to these e-mails without their consent, as this is considered spam.
- Group access: Having customer groups enables you to create group discounts. Many other PrestaShop feature can also be group-restricted. You will learn more about group in the Groups section of this chapter of the PrestaShop user guide.
- Default customer group: No matter how many groups that customer belongs to, s/he should always have one main group.
- Go to Customer tab click on it and click on Add New Customer button you will get a creation form.
- Click on save to save entry in a list of customers.
- Go to Customer tab click on Customer a window appears.


C) ADDING ADDRESSES
-
- Go to Customer tab click on Customer a window appears.
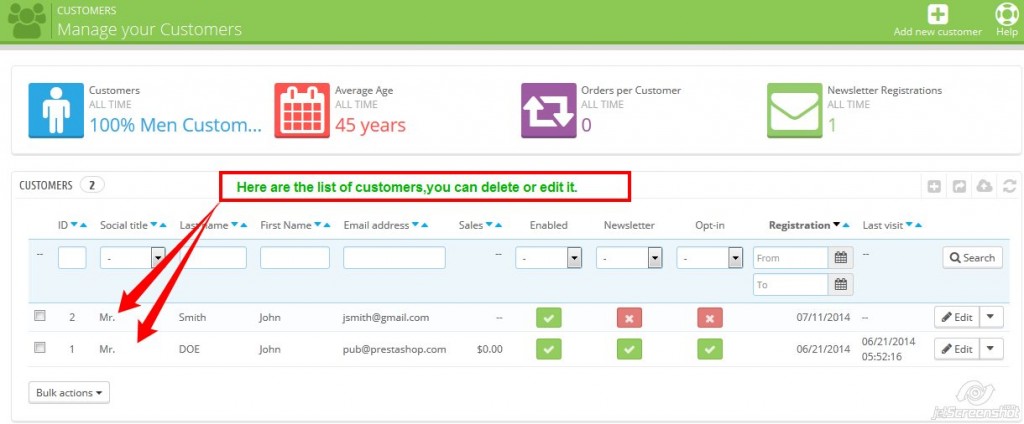
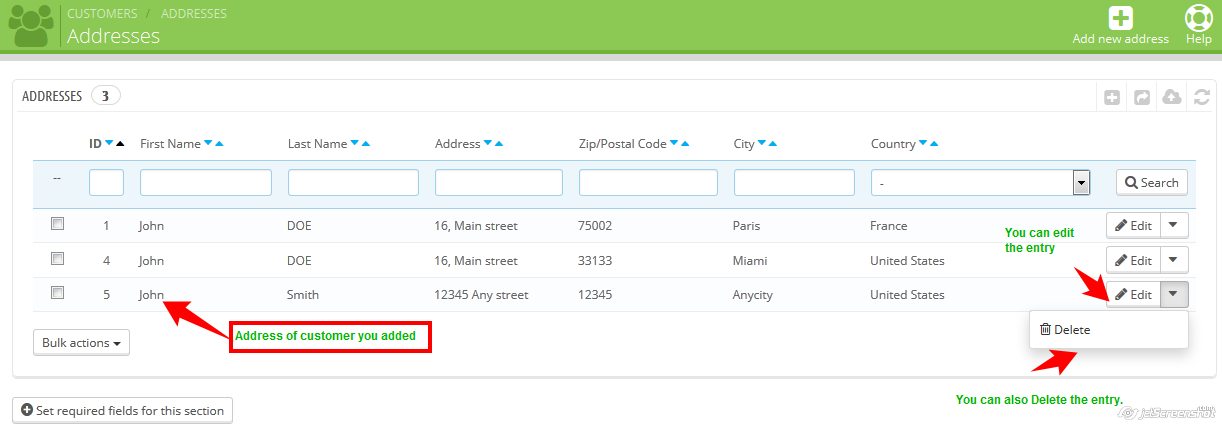
- You can acccess the list of your customer’s addresses (home, work)etc. You can edit them using the Edit button, or delete them altogether.

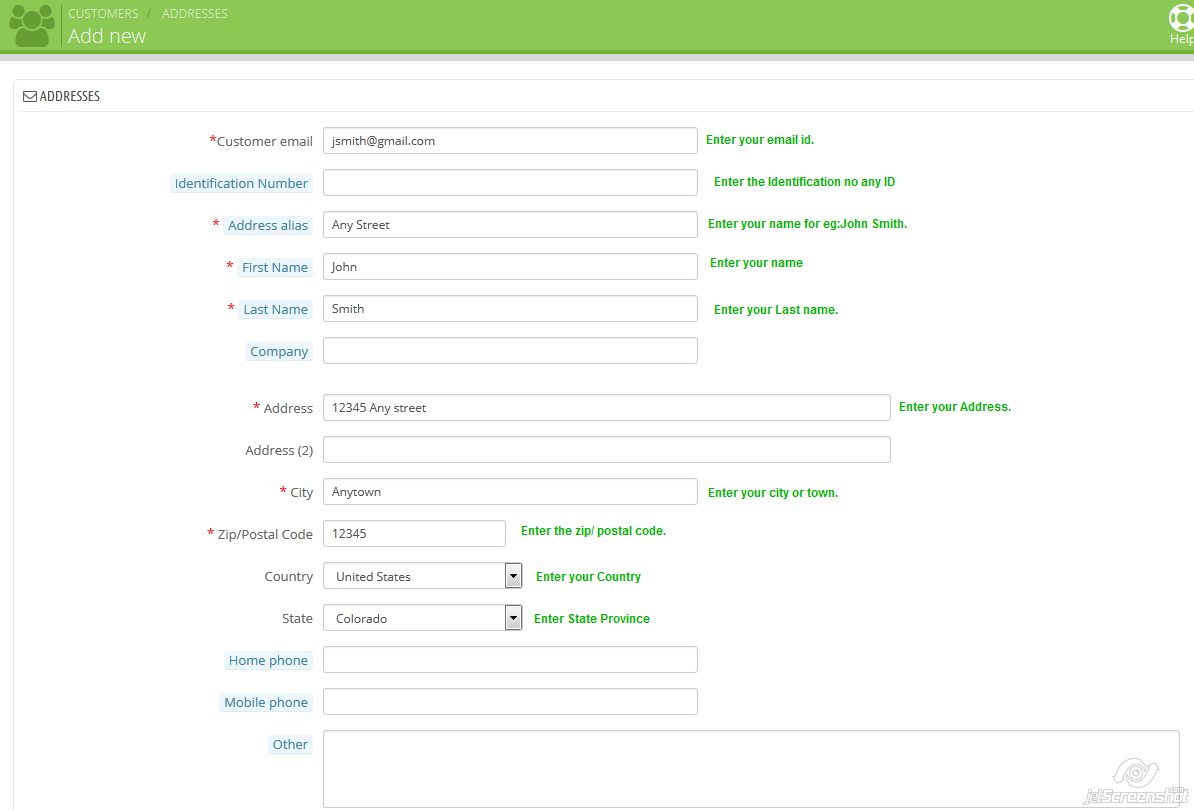
- Fill the following feilds:

- Customer email: This field is essential: if you are adding an address for an existing customer, you MUST identify this customer using her/his email address. Otherwise, PrestaShop will not know who to assign this address to.
- Identification number: The national ID cart number of this person, or a unique tax identification number This field is of course optional.
- Address alias: A short description, in order to help the customer choose the correct address Home, Office, Aunt Beth’s etc.
- Other: Some additional information that might be useful to the shipment.
- Click on save to Save the addresses.
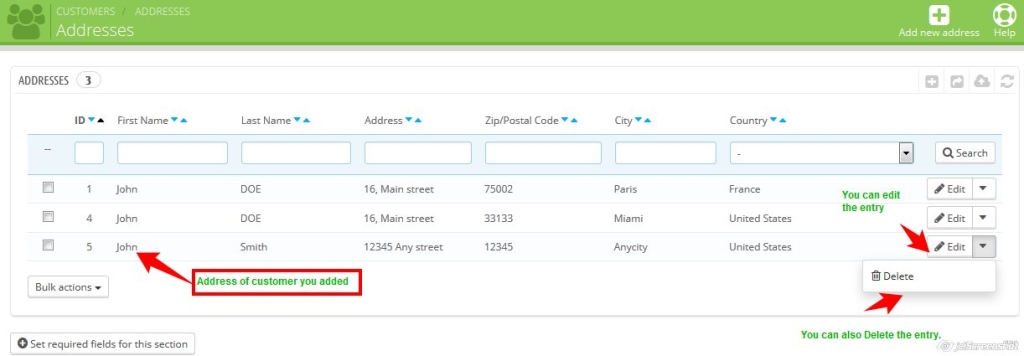 You can edit and delete the entries of customers addresses.That ‘s how we can easily manage our customers groups and addresses.
- Go to Customer tab click on Customer a window appears.

