 Skip to content
How to Serve Scaled Images in Right Way
July 15, 2020 | 08 min read
1. Introduction to Image Optimization
Large images slow down your web pages which doesn’t create a good user experience. Optimizing images is the process of refines images so as to lighten pages, reduce load times, and less the burden of network resources, including data usage in the case of mobile data plans.
Simply put:- Smaller filesize = Reduced download time = Faster page load = Increases SEO ranking = Improved user experience and increased site visibility.
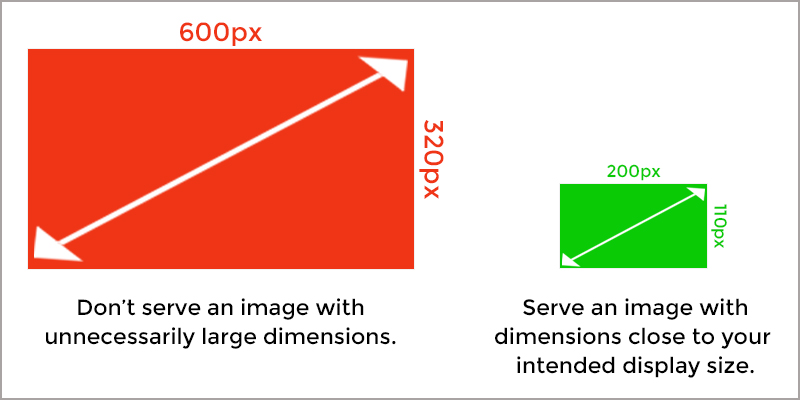
The key concept of image optimization is to boil down to image dimensions.
Dimensions:-
2. What is a Serve Image?
A scaled image is an image whose size matches exactly with the size defined in CSS or HTML. If a user decides to use a 500 x 500 pixels image for a 50 x 50 thumbnail.
So, the browser will download and scale the picture before displaying it on the visitor’s screen. The speed of your website loading time becomes slow due to this inefficient process.
If you use the Serve Scaled Images feature, you can prevent this issue from occurring again. Scaled images are smaller in size, which means they take up less space and load much faster on your website. This not only enhances the professional appeal of your site but also improves its loading speed.
3. Steps for How to get your Images Scaled Manually
Let’s take a look at how to serve scaled images on your website. Because using oversized images can negatively affect your website’s speed and performance.
Step 1-Analyzing your website
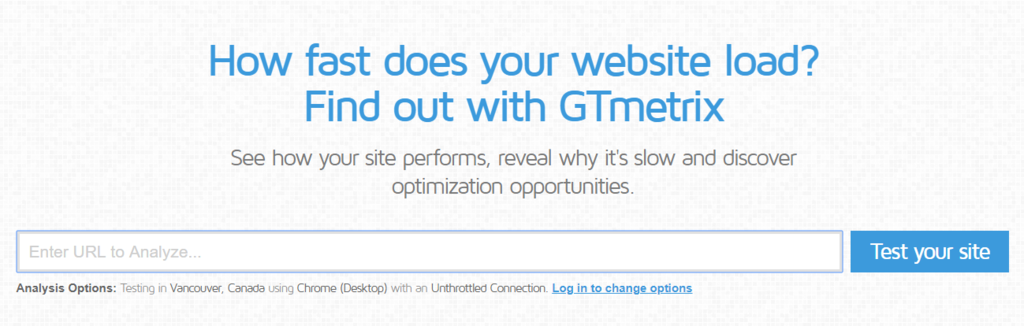
First, you are required to find images from your site that need to be rescaled along with their right dimensions. To perform so, you can use any tool like Google PageSight, GTmetrix,etc.
Let’s access GTMetrix, enter your website’s URL, and click on Test Your Site.
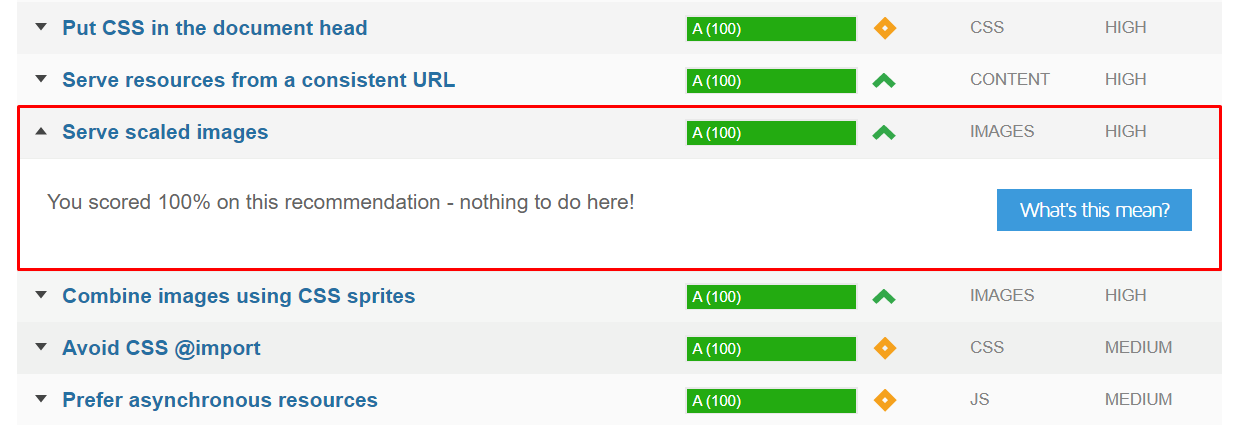
When the report is complete, navigate to the Page Speed tab and click the Serve scaled images section.
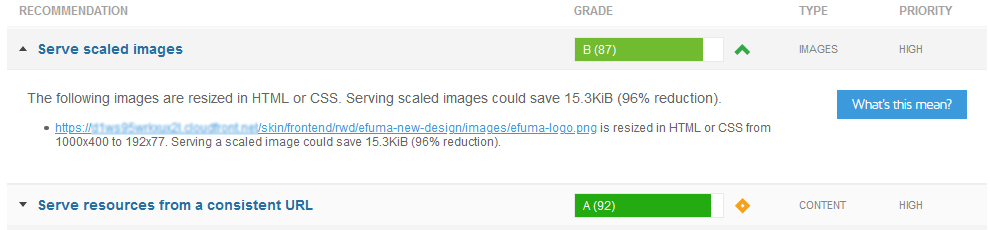
The section will expand and show you a list of images that need to be scaled. Copy the images’ URLs and note down the recommended sizes. You can reduce the file size and serve a more appropriately sized image.
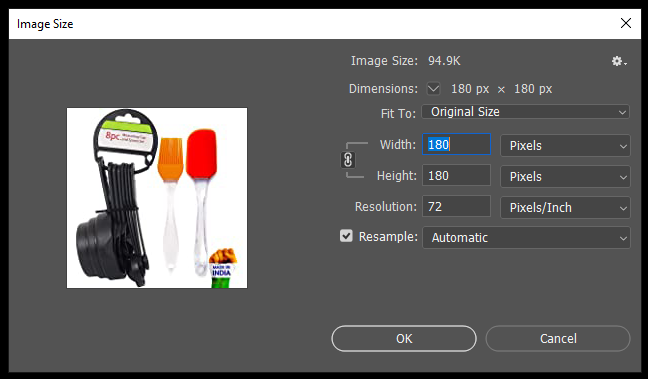
Step 2-Resize your Image
The next move to serve scaled images is by resizing the oversized pictures. You can use photo editing tools like Photoshop, GIMP, etc, and resize the photo dimensions down to the maximum display size.
- For photos and colorful, high detail images – Use JPG. Adjust the quality percentage to what you wish.
- For logos and basic graphics with few colors or transparency – Use PNG. PNG is a lossless format, so there are no quality adjustments to make.
Step 3 -Replace the unoptimized image with a newly optimized one
Replace or reinsert your images in order to retain the optimization you did on the image.
Run another time GTmetrix analysis on your page and you’ll find that you now score better on “Serve scaled images”
4. Using Image Editor in Shopify
You can use the Image Editor to edit and resize images that you want to use in your Shopify admin.
- From your Shopify admin, go to Products -> All products.
- Click the name of the product that has the image that you want to edit.
- Hence, the image you want to edit then clicks on Edit image.
Know about Image Aspect Ratio
An image aspect ratio is the ratio of width and height of the image. For example, an image that is 300 px by 600 px has an aspect ratio of 1:2. An image that is 120 px by 360 px has an aspect ratio of 1:3.
Images can be of different sizes but having the same aspect ratio. To calculate aspect ratio, divide the image width by its height.
You can keep the same aspect ratio of your product images having the same size on your collection page. You also crop your images to have them in the same aspect ratio.
Crop an Image
You can remove the part of the image by using the crop an image option. When you wish to display only a part of the image, or when you require to change the image’s aspect ratio this will be useful.
Steps:
- Click on Crop.
- Select the area of the image that you want to keep:
- Click on Freeform if you wish to crop the image into a custom size.
- Click on Original, if you want to crop the image using the same aspect ratio as the image
- Click on Square, if you want to crop the image into a square.
- Click on Apply to crop the image.
- Click on Save, when you are done making edits in the image editor.
Draw on an Image
You might want to draw on an image to add a line, highlight part of the image, or add a design.
You can use the eraser to remove all or part of a drawing.
Steps:-
- Click on Draw.
- Select a color and a brush size.
- Select and drag on the image to draw.
- Click Apply to add the drawing.
- Click on Save, when you’re done making edits in the image editor.
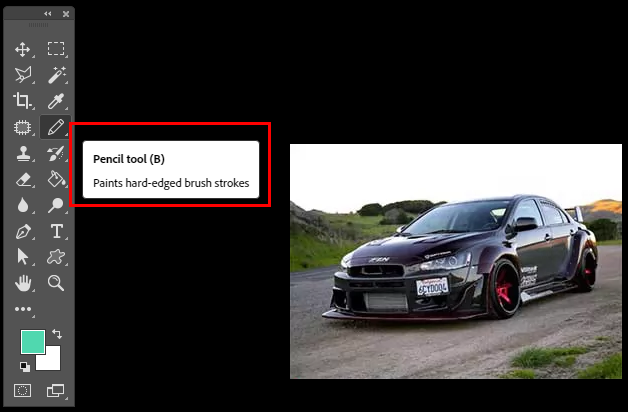
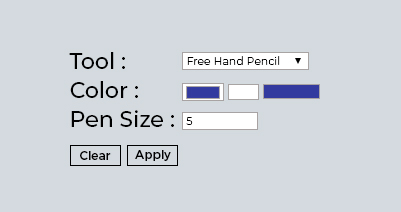
Image Resize
You can change the image actual size by utilizing resizing an image.
Steps:-
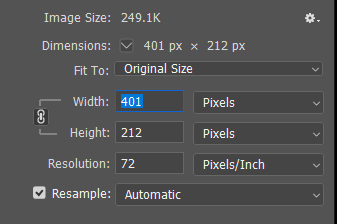
- Click on Resize.
- Enter the new width for the image. The height is automatically updated. If you want to resize the image without keeping the same aspect ratio, then click the Lock aspect ratio.
- Click Apply to resize the image.
- When you’re done making edits in the image editor, click Save.
Change image orientation
You can rotate an image to change its display orientation.
Steps:-
- Click on Rotate.
- To change the image’s orientation:
- Click on Rotate clockwise to turn the image.
- Click Apply to change the image’s orientation.
- Click on Save, when you’re done making edits in the image editor.


