Skip to content
How to Create an Order Limit
Table of Contents
- Navigate to Order Management
- Access the Order Limit Section
- Configure General Settings
- Define Conditions
- Customize Customer Messages
- Save and Manage Order Limits
- How to Add a Checkout Rule for Order Limit Feature
- Find Checkout Rules Section
- Select the Validation Rule
- Enable the Rule
- Frontend Display
Step 1: Navigate to Order Management
- Log in to your Shopify Admin.
- Open the OSCP Discounts Suite app.
- From the left sidebar, click Order Management.
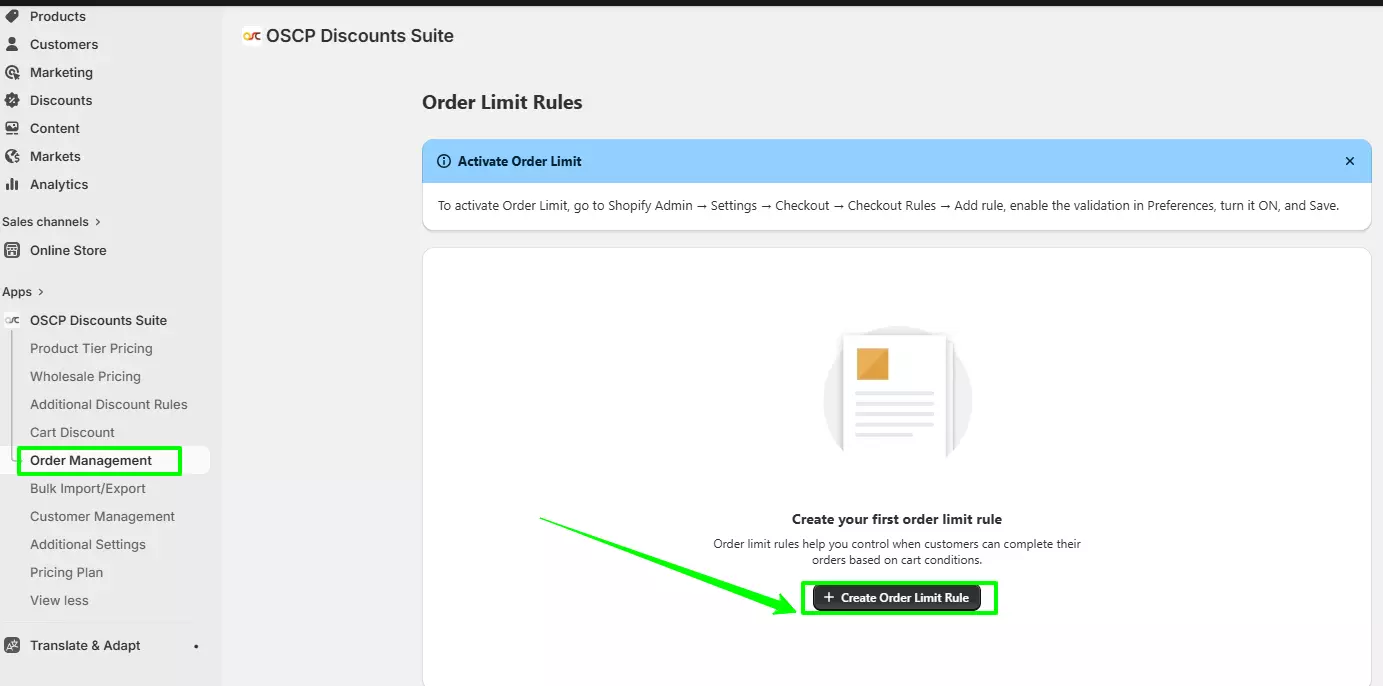
Step 2: Access the Order Limit Section
- On the Order Management page, locate the Order Limit Rule section.
- Click Create Order Limit Rule.
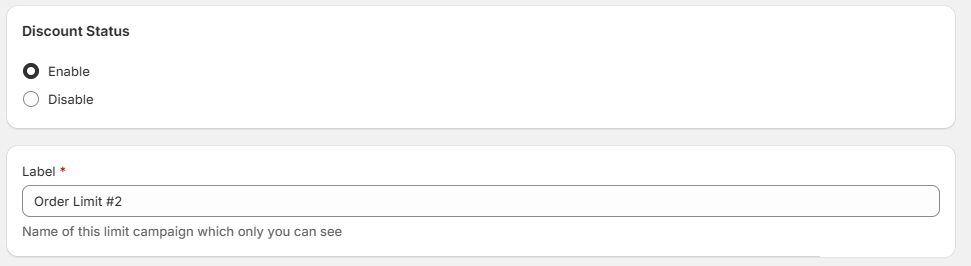
Step 3: Configure General Settings
Under Discount Status:
- Select Enable to activate the order limit rule.
- Select Disable to keep it inactive.
Enter a Label:
- This is the internal name for the campaign.
- Customers will not see this label.
Step 4: Define Conditions
In the Conditions section:
- Choose whether:
- Any one condition must be met, OR
- All conditions must be met for the rule to apply.
- Set the Target as Cart.
- Choose the Type:
- Total Quantity (number of products in the cart), OR
- Total Value (total cart amount).
- Enter the Minimum and/or Maximum value limits.
Example:- Quantity between 1 and 5
- Cart value between $50 and $500
Click Add New to save the condition.

You can add multiple conditions if needed.
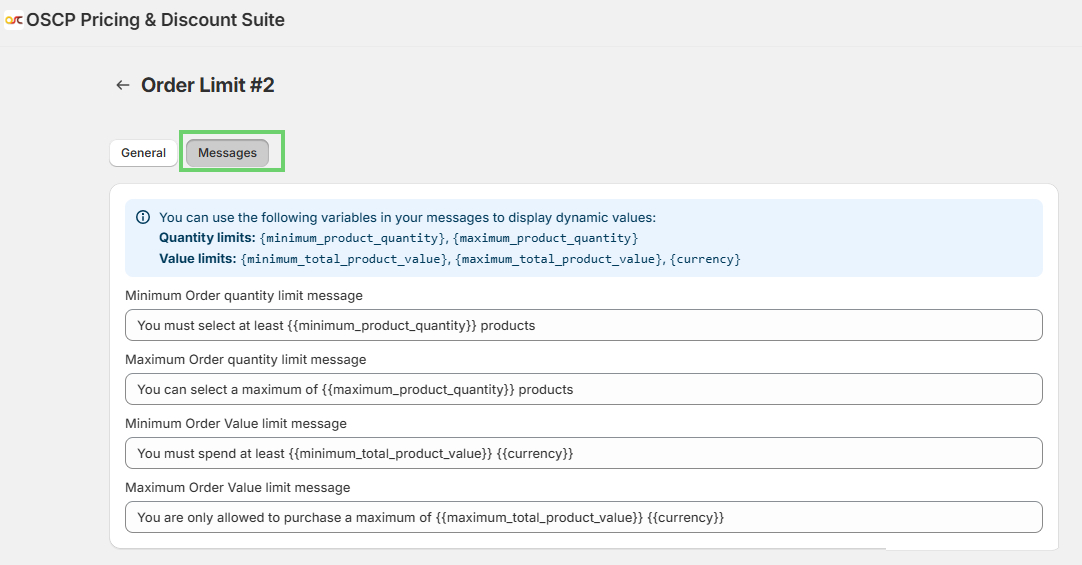
Step 5: Customize Customer Messages
Go to the Messages tab.
Edit the messages that will be displayed when customers:
- Do not meet the minimum limit
- Exceed the maximum limit
Quantity Limit Messages
- Minimum Order Quantity:
“You must select at least [X] products.” - Maximum Order Quantity:
“You can select a maximum of [X] products.”
Value Limit Messages
- Minimum Order Value:
“You must spend at least $[X].” - Maximum Order Value:
“You are only allowed to purchase up to $[X].”
After editing all messages, click Save.
Step 6: Save and Manage Order Limits
- Review all conditions and messages.
- Click Save to finalize your Order Limit rule.
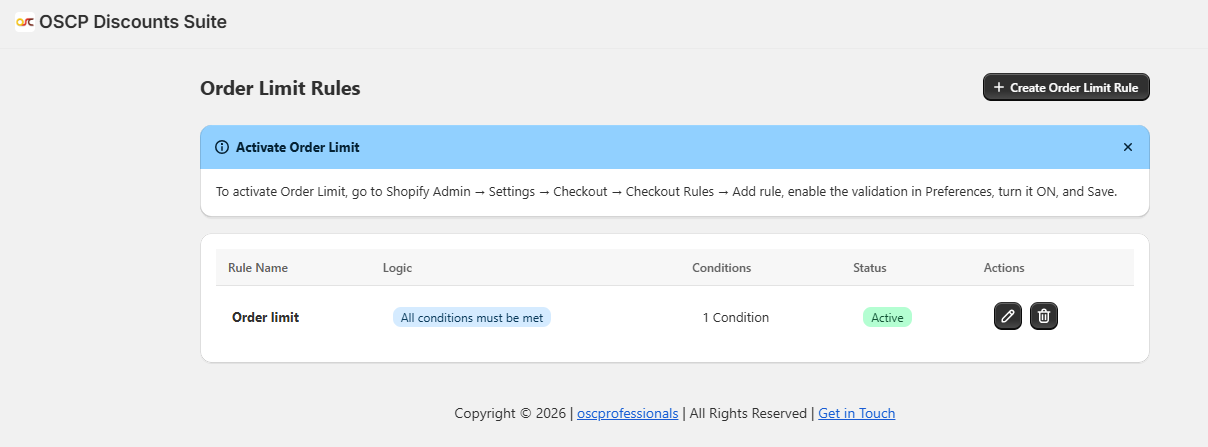
You can view, edit, or delete existing rules anytime from the Order Limit listing page.
How to Add a Checkout Rule for Order Limit Feature
To ensure validation works at checkout, follow these steps:
Step 1: Go to Checkout Settings
- From your Shopify Admin, navigate to:
Settings > Checkout
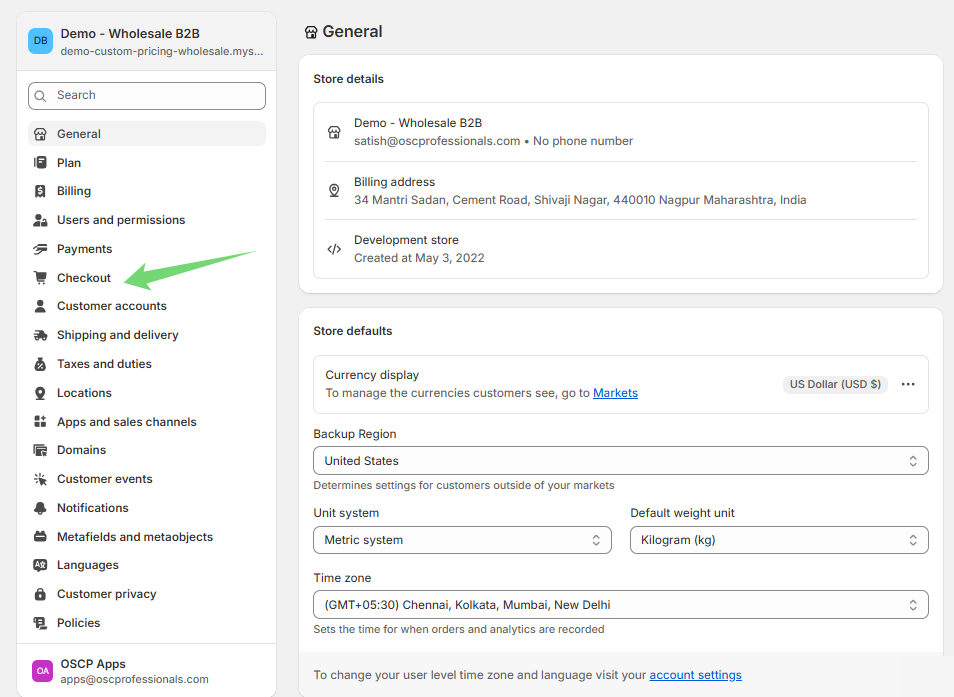
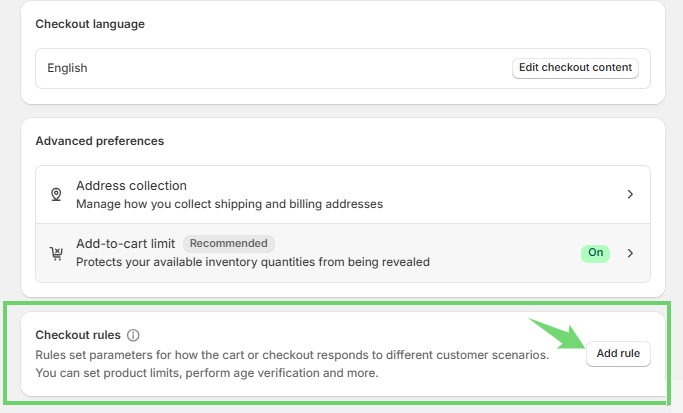
Step 2: Find Checkout Rules Section
- Scroll to the Advanced Preferences section.
- Locate Checkout Rules.
- Click Add Rule.
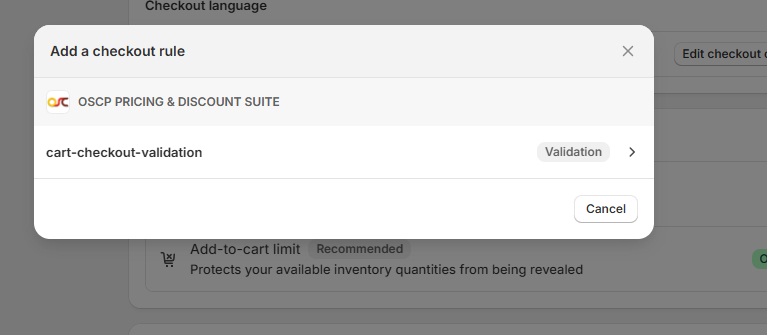
Step 3: Select the Validation Rule
- In the popup window, select cart-checkout-validation.
- Click to proceed.
Step 4: Enable the Rule
- The checkout rule page will open.
- Turn the rule ON (green toggle).
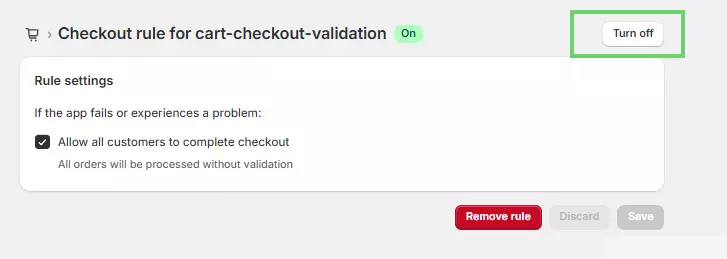
Optional:
- Check Allow all customers to complete checkout if you want orders to proceed even when validation fails.
Step 5: Save Settings
Click Save to activate the checkout validation rule.
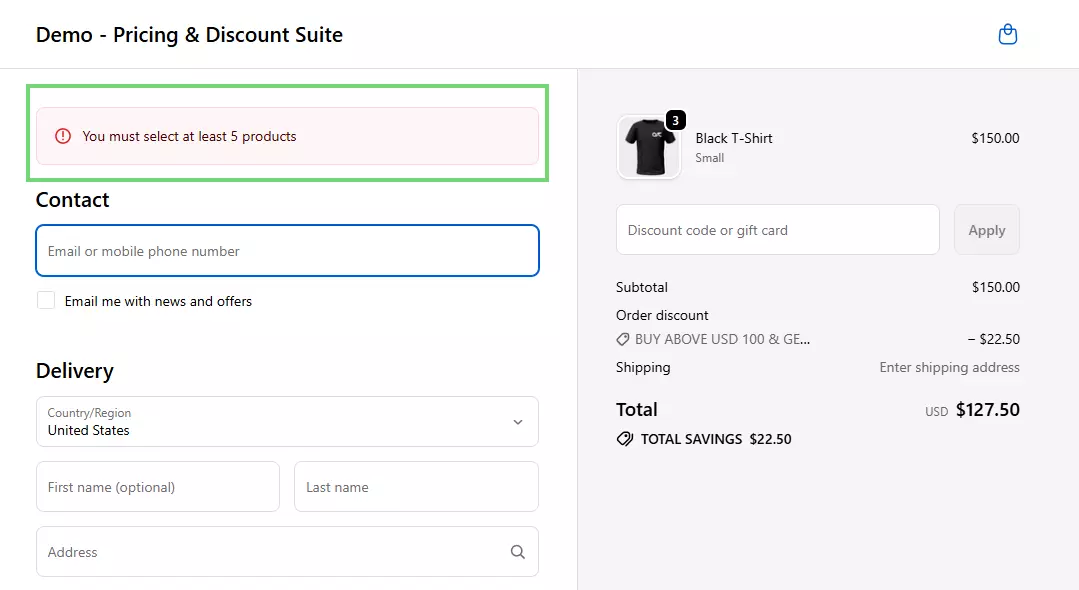
Frontend Display
Customers will see the order limit messages directly on the Cart page and Checkout page whenever:
- They exceed the maximum limit
- They do not meet the minimum requirement