 Skip to content
How to Create Virtual Product In Magento
Virtual products are those products, they do not have a physical existence. They represent something that can be sold. Service, warranty, insurance policies or subscription these are the virtual product.
Process to Add Virtual Product:
Step 1. Catalog>Manage Product>Add Product>Select Attribute Set>Product Type
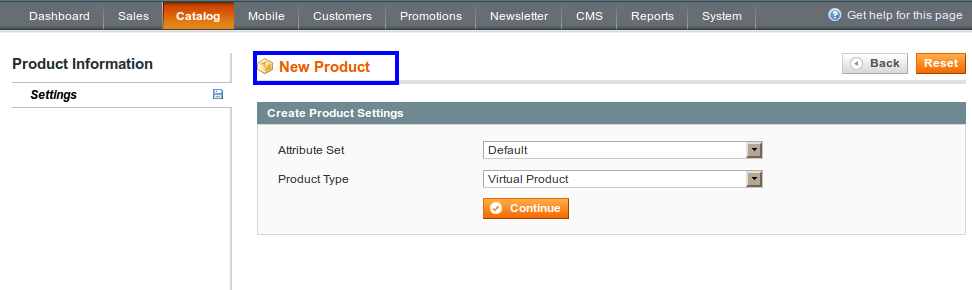
Step 2. Fill General Setting Information
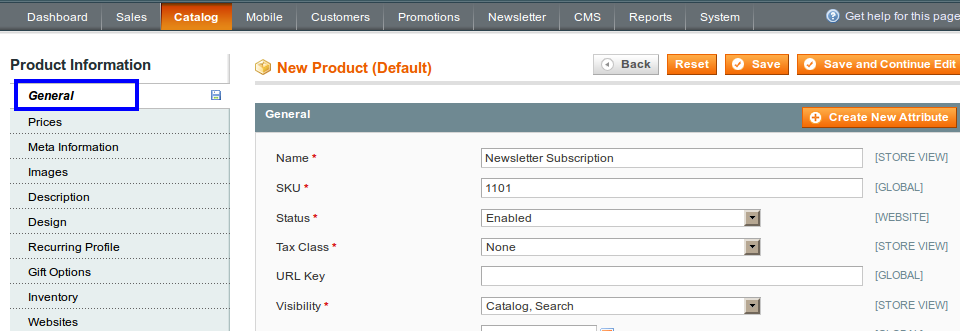
- Name: Name of your product, that will be display at front-end
- SKU: SKU (stock keeping unit) is the unique identifier for the product
- Status: Set Enabled to display product otherwise it will not display
- Tax Class: Select tax class for your product from drop-down, you can select Default, Taxable Goods or None
- Visibility: Determines visibility for your product, it want to display with catalog or search
Step 3. Set Price for your Virtual Product
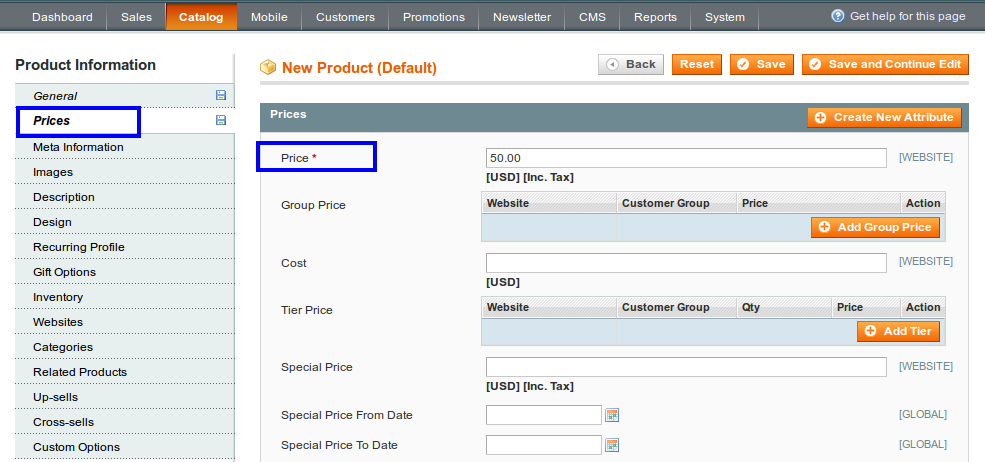
- Price: It is the price of the product, it will display at front-end
If you want to add Group price, Special price, Tier price then you can add.
- Group price: It is the price that offer to specific customer group, it will display at front-end as a Special price
- Cost: It is actual cost of the product,it not displayed to the customer,it used to generate income
- Tier Price: It used to offer quantity discount
- Special price: Special price can offer on some special occasion. By setting from date and to date you can offer special price.
- Apply MAP: Minimum Advertise price it used to hide price from customer. It doesn’t display price at catalog.
- Manufacturer’s Suggested Retail Price : The retail price as suggested by the manufacturer.
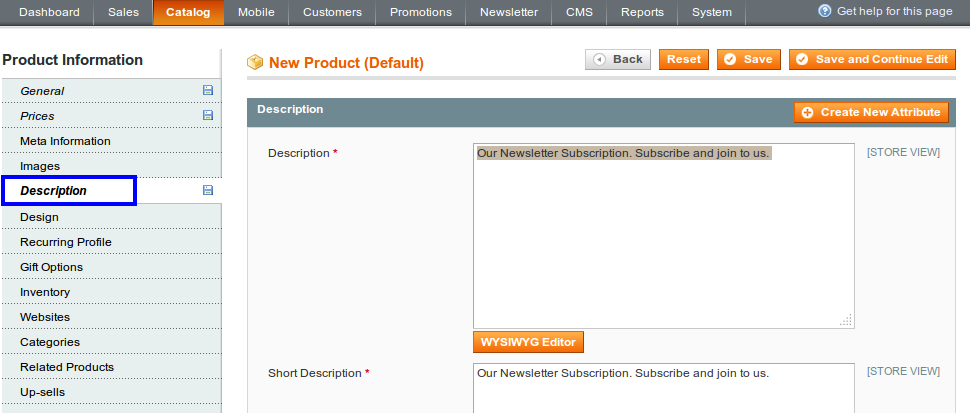
Step 4. Add Description for your product
Step 5. Set Inventory
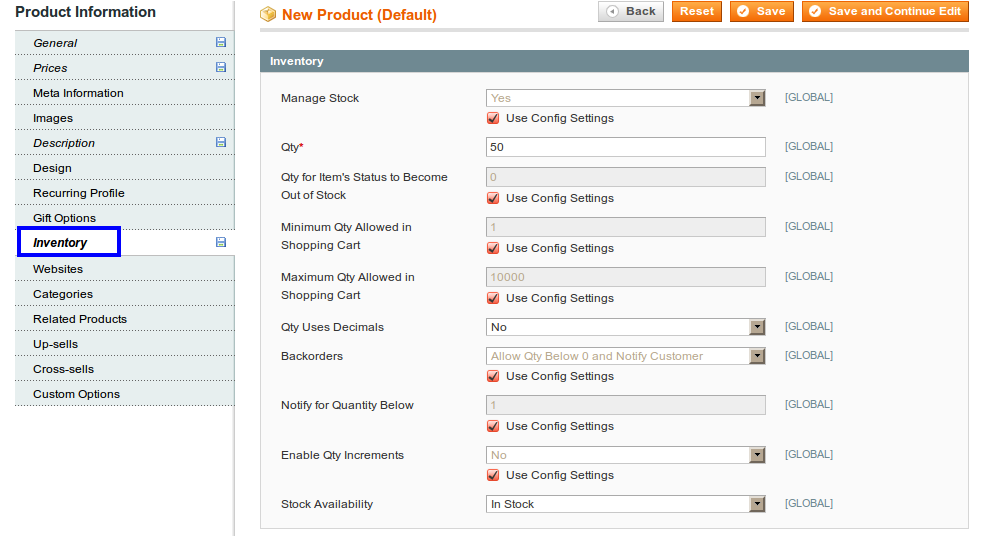
- Manage Stock: Select yes to manage stock
- Qty: Enter quantity of your product
- Qty for item’s status to become Out of stock: Set value to show, your stock become out of stock
- Minimum quantity allowed in shopping cart: Set minimum value limit that you allow at your shopping cart
- Backorder: If you set Allow Backorder, it allow to place order when product is out of stock
- Notify for quantity below: When ordered quantity not available in stock, it accept order and send notification to customer
- Enable quantity increment: If it is set to Yes it will sell your product in increments of entered value
- Stock Availability: Set In Stock to show availability of product at front-end, otherwise it will not display
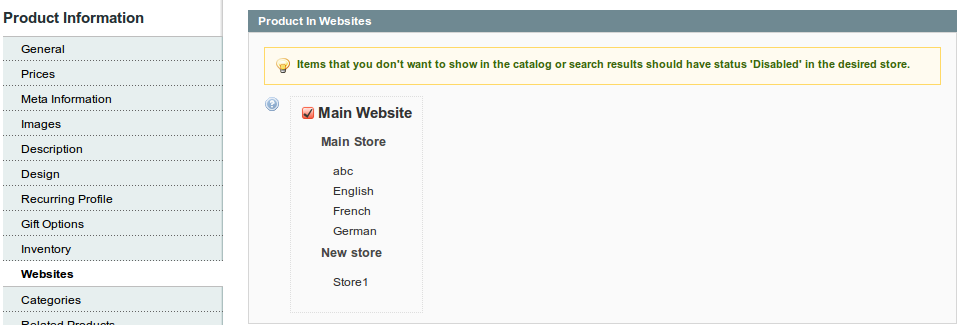
Step 6. Select Website
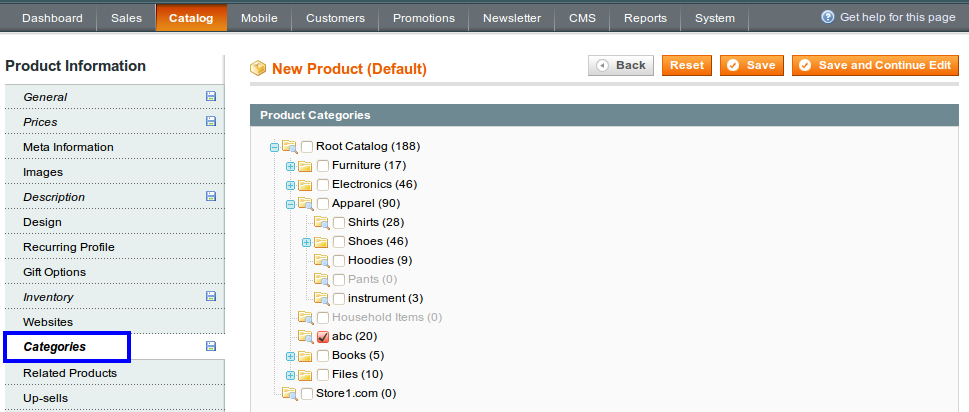
Step 7. Assign product to Categories and Save Product
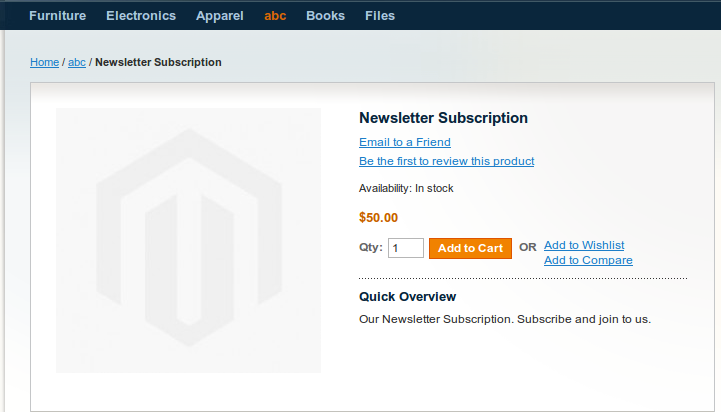
Virtual Product at Product Page:
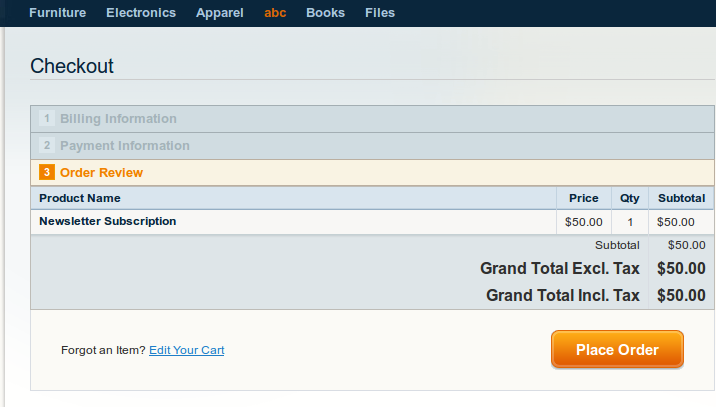
Checkout Page: Virtual product doesn’t require a Shipping


